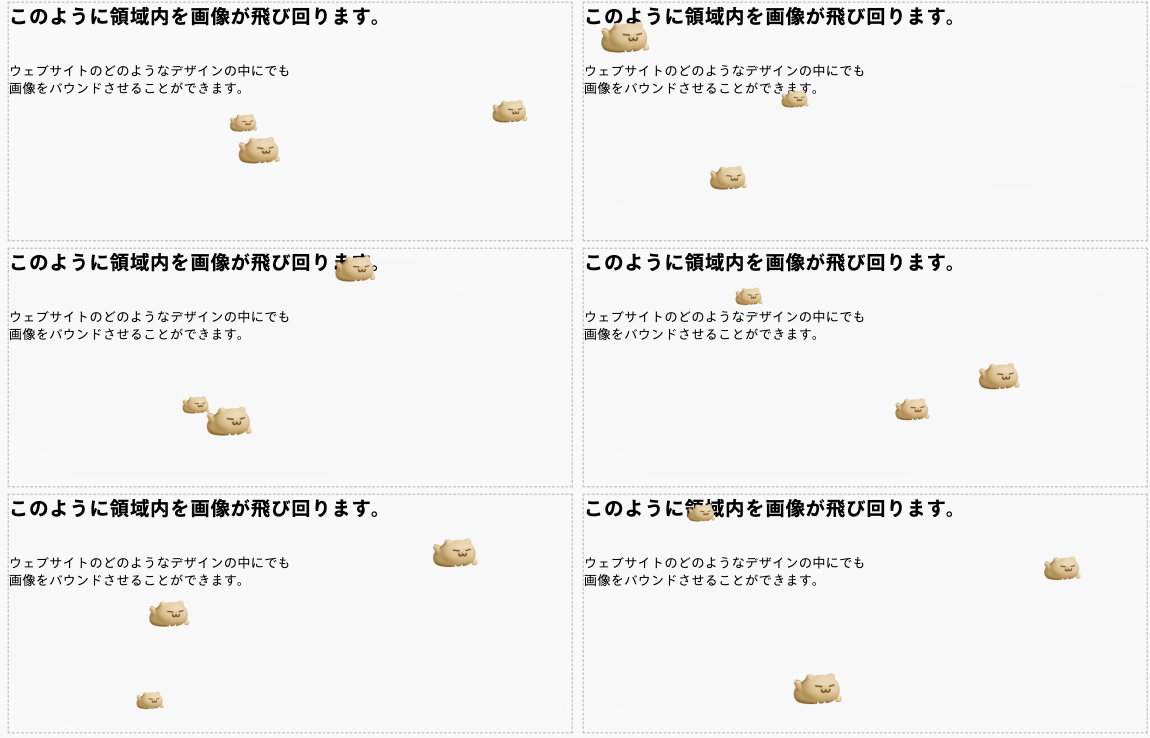
結末としてはこうなります。
このように領域内を画像が飛び回ります。
ウェブサイトのどのようなデザインの中にでも
画像をバウンドさせることができます。


使い方はめちゃめちゃ簡単
まずponpondash.jsをつくりこのようなコードで保存してください
(function () {
  // 1回だけ keyframes を定義
  function injectCSS() {
    if (document.getElementById('pinpon-style')) return;
    const style = document.createElement('style');
    style.id = 'pinpon-style';
    style.innerHTML = `
      @keyframes pinponScale {
        0%, 100% { transform: scale(1); }
        50% { transform: scale(1.2); }
      }
      .pinpon-animating {
        animation-name: pinponScale;
        animation-iteration-count: infinite;
        animation-timing-function: ease-in-out;
        animation-duration: 2s;
      }
    `;
    document.head.appendChild(style);
  }

  // クラス名からサイズとスピードを抽出(修正版)
  function parseParams(className) {
    // 正規表現を修正 - 実際のクラス名パターンに合わせる
    const sizeMatch = className.match(/pinpon-size\|(\d+)\|(\d+)/);
    const speedMatch = className.match(/speed\|(\d+)\|/);

    const minSize = sizeMatch ? parseInt(sizeMatch[1]) : 40;
    const maxSize = sizeMatch ? parseInt(sizeMatch[2]) : 80;
    const speed = speedMatch ? parseFloat(speedMatch[1]) : 4;

    console.log("解析結果:", className, { minSize, maxSize, speed }); // デバッグ用

    return { minSize, maxSize, speed };
  }

  class PinponBall {
    constructor(el, container) {
      this.el = el;
      this.container = container;

      const { minSize, maxSize, speed } = parseParams(el.className);
      this.size = minSize;
      this.maxSize = maxSize;
      this.speed = speed;

      console.log("ボール生成:", this.size, this.maxSize, this.speed); // デバッグ用

      // スタイル設定
      el.style.width = `${this.size}px`;
      el.style.height = `${this.size}px`;
      el.style.position = 'absolute';
      el.style.pointerEvents = 'none';

      // 拡大縮小アニメーション
      el.classList.add('pinpon-animating');
      // アニメーション時間をスピードに基づいて設定
      el.style.animationDuration = `${Math.max(1, 10 / this.speed)}s`;

      // 初期位置と方向
      this.x = Math.random() * (container.clientWidth - this.size);
      this.y = Math.random() * (container.clientHeight - this.size);
      const angle = Math.random() * Math.PI * 2;
      this.vx = Math.cos(angle) * this.speed / 5; // 速度を調整
      this.vy = Math.sin(angle) * this.speed / 5; // 速度を調整
    }

    move() {
      this.x += this.vx;
      this.y += this.vy;

      const maxX = this.container.clientWidth - this.size;
      const maxY = this.container.clientHeight - this.size;

      if (this.x <= 0 || this.x >= maxX) this.vx *= -1;
      if (this.y <= 0 || this.y >= maxY) this.vy *= -1;

      this.x = Math.max(0, Math.min(this.x, maxX));
      this.y = Math.max(0, Math.min(this.y, maxY));

      this.el.style.left = `${this.x}px`;
      this.el.style.top = `${this.y}px`;
    }
  }

  function initPinpon() {
    // 明示的にCSSアニメーションを注入
    injectCSS();

    const canvases = document.querySelectorAll('.pinponcanvas');
    console.log("キャンバス数:", canvases.length); // デバッグ用

    canvases.forEach(canvas => {
      canvas.style.position = 'relative';
      canvas.style.overflow = 'hidden';

      // 正確なセレクタで対象画像を取得
      const imgs = canvas.querySelectorAll('img[class*="pinpon-"]');
      console.log("対象画像数:", imgs.length); // デバッグ用

      const balls = Array.from(imgs).map(img => new PinponBall(img, canvas));

      function animate() {
        balls.forEach(ball => ball.move());
        requestAnimationFrame(animate);
      }

      animate();
    });
  }

  // 即時実行 + イベントリスナー
  if (document.readyState === 'loading') {
    document.addEventListener('DOMContentLoaded', initPinpon);
  } else {
    // すでにDOMが読み込まれている場合は即時実行
    initPinpon();
  }
})();
そしてそれのHTMLから使い方をみてください
  <div class="pinponcanvas">
    <img src="https://field.asia/wp-content/uploads/2025/04/hamu.png" class="pinpon-size|40|80-speed|6| my-style">
    <img src="https://field.asia/wp-content/uploads/2025/04/hamu.png" class="pinpon-size|50|100-speed|4| my-style">
    <img src="https://field.asia/wp-content/uploads/2025/04/hamu.png" class="pinpon-size|60|120-speed|8| my-style">
  </div>
ピンポン玉を動かしたい領域に
class=”pinponcanvas”
をつけます。
そしてその中にピンポン玉のように動かしたい画像に
class=”pinpon-size|60|120-speed|8|
とつけます。
ピンポン玉となった画像は最小サイズと最大サイズの設定値の間でぐにゃぐにゃと大きくなったりちいさくなったりします。そしてスピードも変更できます。
これだけです。

 事業グロース
